
You wrote the email, picked the subject line and built the landing page. The last step is pressing send, and that is the step you cannot take back. A broken form or a dead link costs you the readers who clicked once and did not come back.
A short walk-through beats a round of apologies. Walk through what your reader will do, in the order they will do it.
Click 1: open the link from the email
Do not open the page from your editor. Send the email to yourself and click the link in it. That is the path your readers take, and it catches a wrong address, a missing page and a tracking tag that broke the link.
Check it on a phone and on a computer. Chrome's device mode in the developer tools is useful for a quick look, but Chrome describes it as an approximation of a mobile device, so open the page on a real phone before you send.
Click 2: fill in the form and submit it
Use an address you can read, so you can see what comes back. Fill in every field, press submit, and watch for an error message, a button that does nothing, or a page that reloads empty.
Click 3: do the thing you are selling
Book the slot, or buy the product. If your payment provider has a test mode, use it, with the provider's test card, never a real one. For example, Stripe's documentation says not to use real card details and lists test cards you can use instead.
Click 4: look at what comes after
The thank-you page should show. The confirmation email should arrive. The lead should land where your team looks, such as your CRM or inbox. A form that submits but sends the lead nowhere is the most expensive failure on this list, because everything looks fine.
Click 5: check your tracking
Open your analytics and look for your own visit. Google Analytics describes its Realtime report as a way to monitor activity on your website as it happens, and other tools have a similar view. Also check that your campaign link carries its tracking tags, so you can tell later which email worked. Without them, the campaign still runs, but you cannot tell what paid off.
Hand the form check to an agent
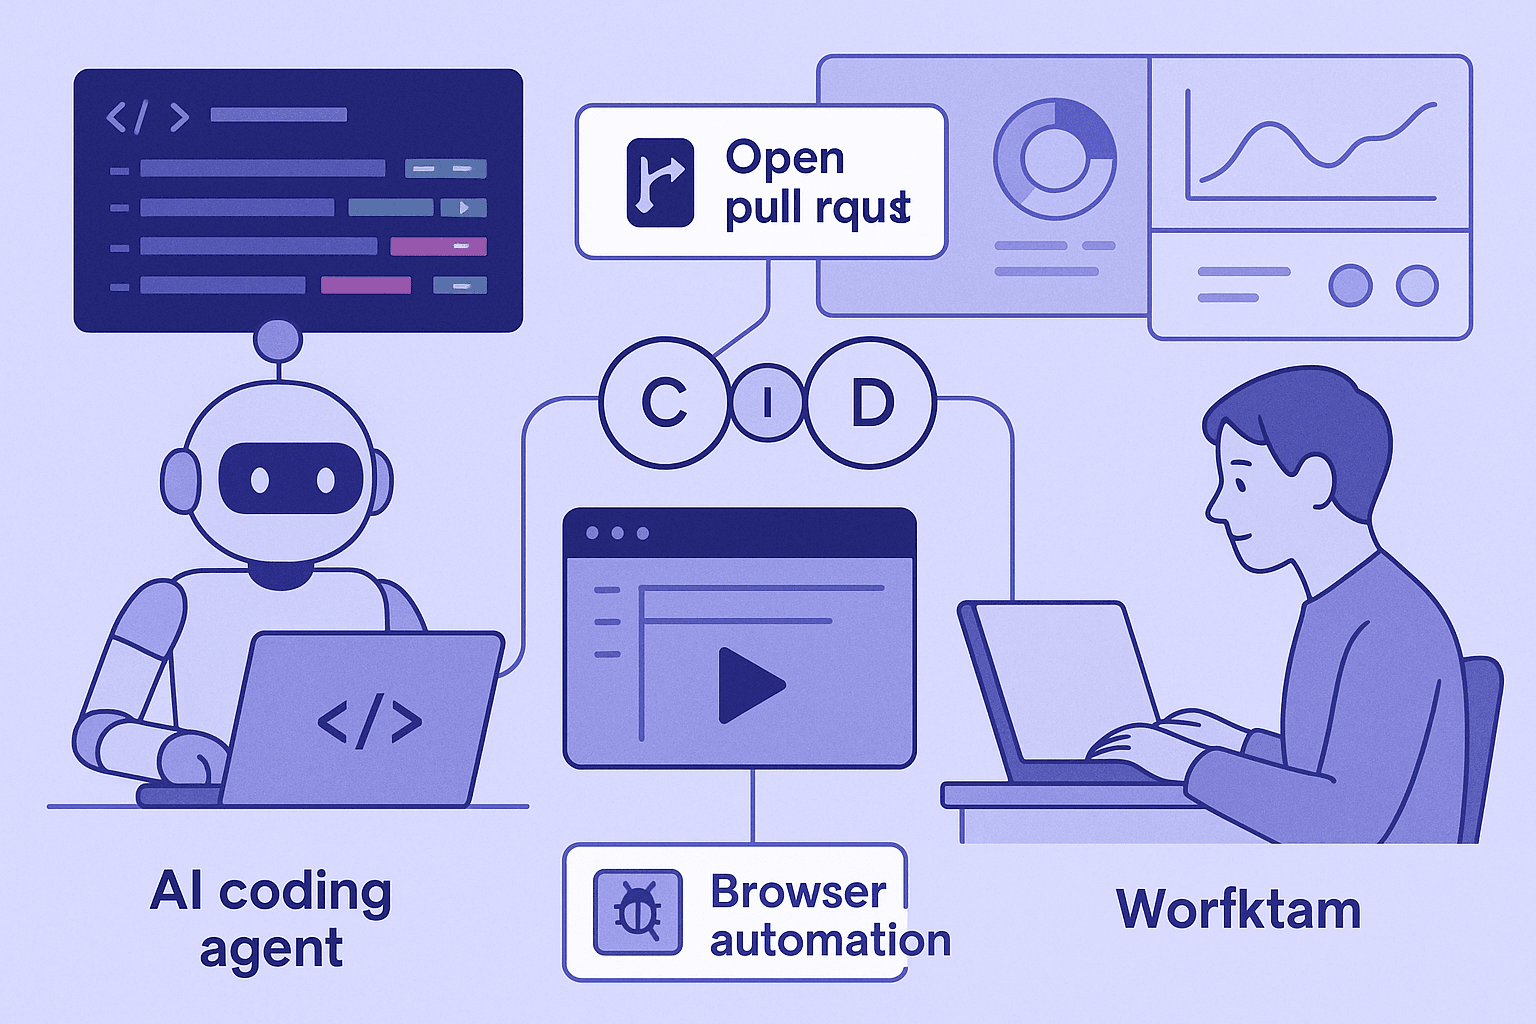
You will want to repeat this after every change to the page. DebuggAI can run a check like this for you: describe the goal in plain words, point it at your page, and a browser agent works through it. For example: "Open the page, fill in the form, submit it, and confirm the thank-you page appears." You get a pass or a fail for that goal.
It runs one flow per check, so it covers click 2 and the page it lands on. The other clicks, such as the confirmation email and your analytics, stay on your list.
If your site uses PostHog, DebuggAI runs set an analytics_ignore cookie so your PostHog ignores them. Add ?analytics=on to the URL only if you want the events counted.
Write the list down once
Keep these five clicks in a shared note. Run them before every send and after every change to the page.
Sources
- Chrome for Developers, "Simulate mobile devices with device mode": https://developer.chrome.com/docs/devtools/device-mode
- Google Analytics Help, "Realtime report": https://support.google.com/analytics/answer/9271392
- Google Analytics Help, "Collect campaign data with custom URLs": https://support.google.com/analytics/answer/1033863
- Stripe Documentation, "Test card numbers": https://docs.stripe.com/testing
- DebuggAI MCP,
@debugg-ai/debugg-ai-mcpREADME (npm).